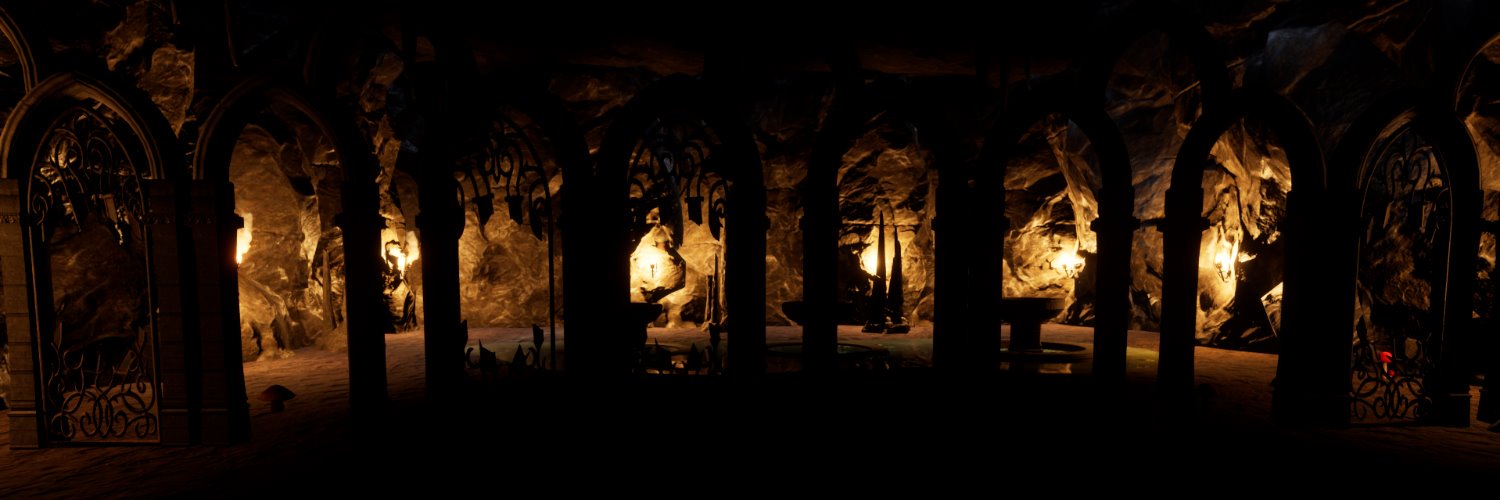
Nightly Dungeon
The Making Of The Upper Dungeon Level
Finding a decent workflow that works for me is still something I’m trying to develop. There are a bunch of different ways and methods to develop a zone in a timelier manner than how I went about it in my first zone. One attempt at using a possible solution was giving BSP (binary space partitioning) brushes also known as BSP geometry a try.
While it might sound complex from the name at the base foundation it is quite simple. Unreal Engine 4 provides a host of basic shapes that you can manipulate in an attempt to build or demo an area out. I tried both creating a modular shell system which if it worked would solve a lot of long term things down the road for me. I also gave using it to mock out a zone before deleting and replacing it with static meshes one at a time.
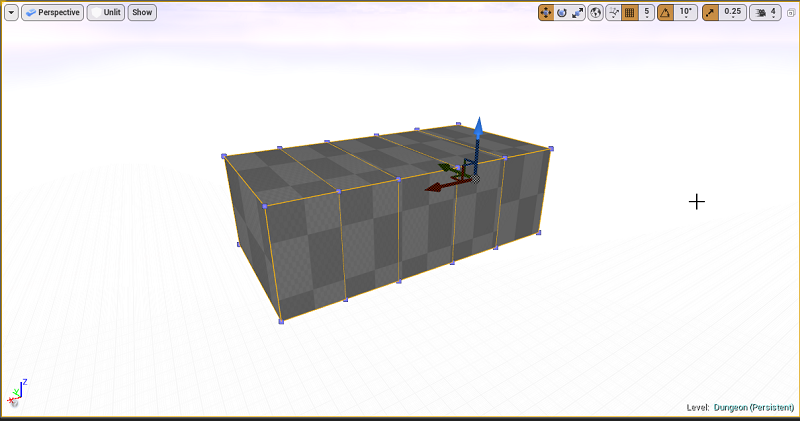
Modular Shell Setup
While I have plans to create quite a few hand-sculpted zones. In the long term that is not the most viable option if I want hundreds of areas and scale things. Before I start working out how to implement and deploy procedural generation. I’m going need to create quite a solid foundation of shells for it to pull and build from.
One way I was hoping to do this was by creating a bunch of setups using BSP brushes. They would make up different size rooms, hallways, stairs, and anything else that would be needed. I would also be creating parts of zones with them in the meantime to test and make sure there is no sizing, mismatching, or other issues I’ll need to adjust or program safeguards in for.
There is also another benefit I was looking for. That was being able to set a wall thickness that resolved the massive light bleed issue I have in the first zone. Trying to scale the static meshes in such a manner to fix this since they are just one pixel wide has other consequences I’m trying to avoid. The other solution would be doubling up on walls to block light but from a design element, you need to leave enough room for that.
On top of that, I have plans for building hidden walls and areas that will open up. When you are dealing with one pixel in-depth static mesh on their own that presents another issue. The player realizes there no depth at all to such objects, so, you would have to build them out to have depth. Which again using BSP brushes would solve this issue.
Finally, a really cool thing they can do when interacting with other BSP brushes is being additive or subtractive. This means if I need to put a doorway, window or even a hole in the floor I didn’t have to move static mesh around and resize them to fit. I could just plop in a subtractive BSP brush and with the correct order of operation, it would make a hole. Sadly without the BSP part, they don’t behave in the same manner when testing it with static meshes on their own.
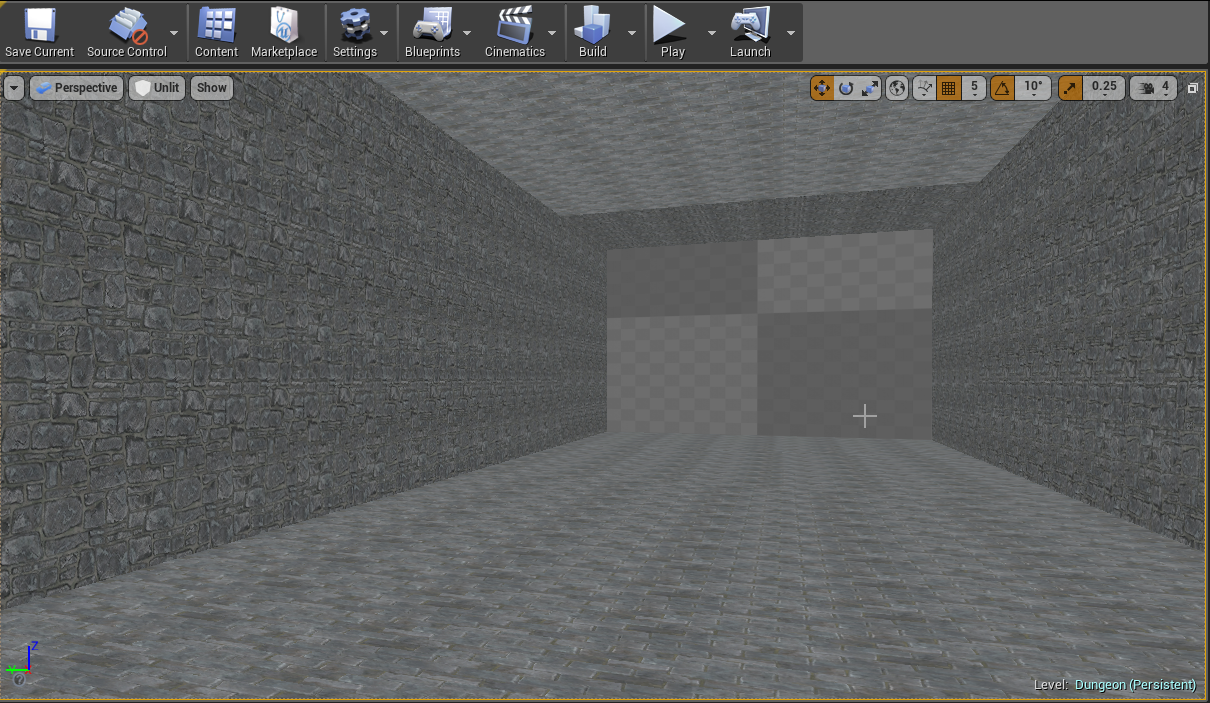
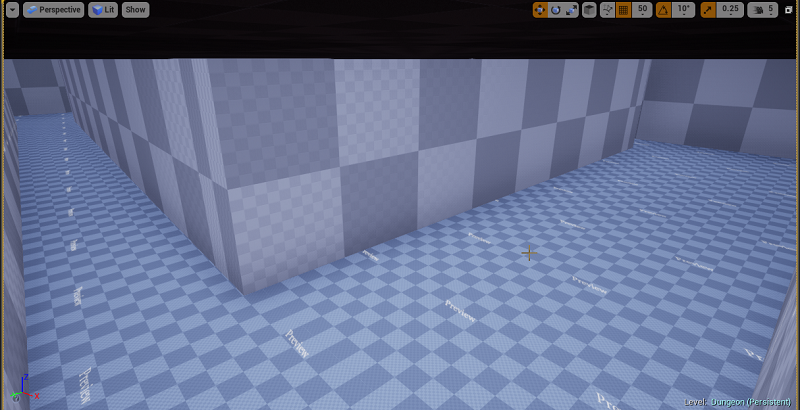
At first glance, this looks great. At second glance, I’m sure you notice how easy it is to realize the repeating patterns for the walls, ceiling, and floor. Since I’m not sliding static meshes into place it is “perfect” without any human error.
Since I would be looking to copy and paste this shell quite a number of times. It’s not a big deal to invest quite a lot of time in trying to resolve it having such a repeated pattern look. I also understand there would need to be other adjustments made over time.
After playing with values, making several attempts, and doing some research. I was no better off than where I started on this front. I could break up the pattern but then you realize a dived between the different sections. I could try and change the size of the pattern that again created other issues I was looking to avoid.
I can just use static meshes and make rooms out of them that I copy and paste. This is in part what I did in my first zone. I, however, wanted a more elegant and sure-fire way of not having mistakes crop up over time if a section was missed or something somehow separated. For now, I need to put more time into this and so I went on to another way of using BSP brushes.
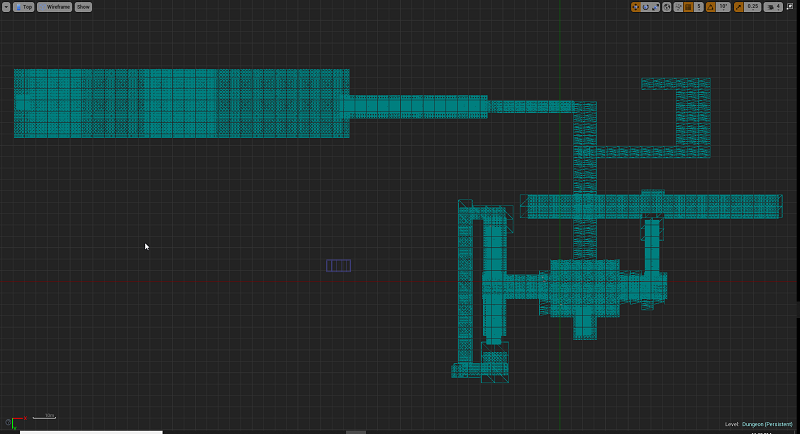
BSP Outlining And Replacing
Another method I notice quite a few people using is getting the general outline and feel for a level and then going in and replacing it all with static meshes. This would also help resolve some workflow issues I’ve been having with getting distracted. There were however quite a few issues I ran into.
One thing I noticed with the first zone I created was wanting to stay away from anything I had a hard time implementing. This usually involved creating height elevation different from going upstairs or downstairs. They are quite a time consuming to create and get everything pixel perfect. This even more so when dealing with a sloping roof that needs to be manually adjusted till it fits.
Since I was just about laying basic outlines knowing I did not need it to be 100%. I ended up challenging myself to have 4 staircases of varying lengths. While you can copy and paste what you have already created it can also get quite messy and require some manual adjusting after the fact.
I also knew to go into it that my BSP brushes were not the exact same size as my meshes. I tried my best of eyeballing it and using some overlay rulers. They, however, were not pixel perfect which means dealing with compounding inaccuracies the further along you go. You can’t just click on an object and see its’ X amount of units in the zone. It’s based off scale that starts at 1, 1, 1.
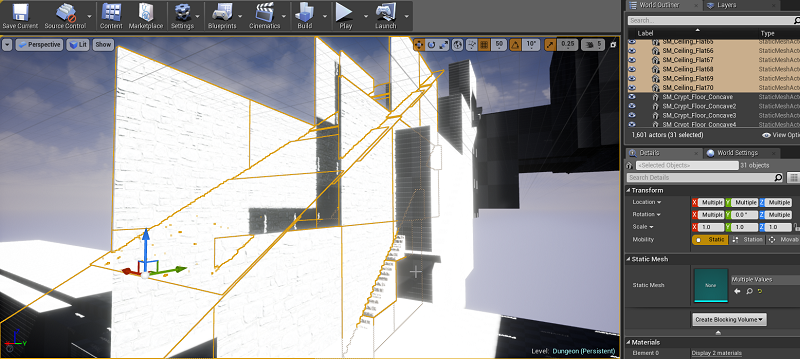
The great thing is my mind did not focus on the 50 things I wanted to do in a room and everything else I got distracted with. The downside is I needed to go back in one at a time and place a static mesh, delete the nearby BSP brushes and then focus on getting everything 100%. As we can see in the screenshot there was a lot of touching up needing to be done just for this small section alone.
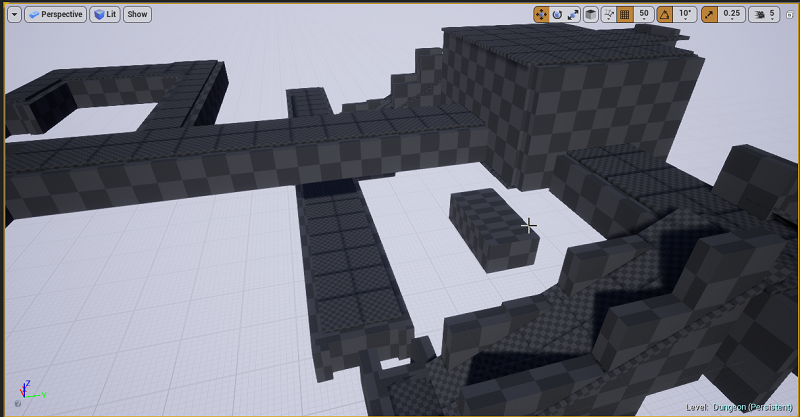
It’s official I hate making stairs. There are so many moving parts that you can’t just snap in place and move on. Lots of having to make micro-adjustments, checking all the angles, and making even more adjustments before you get it right. Even more so when the outline you were making was off enough that some major changes need to be made to make them look decent. They are quite a mess on the outside!
I’ve been slowly trying to work on this much smaller zone than my first zone over the past two weeks a little here or there at a time. It’s hard to say if I ended up saving time going this route or just making way more work for myself. While I enjoyed having using BSP brushes as one step in my workflow. It also added in additional steps and frustration.
Final Thoughts

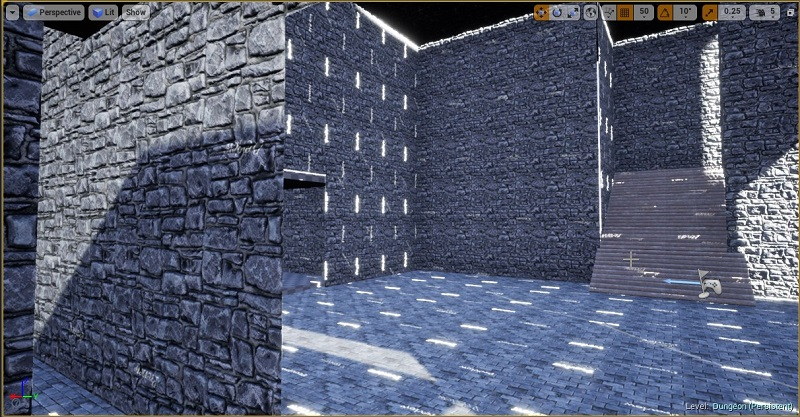
It’s hard to say if these past two weeks have been a success or not. I have most of the static wall meshes now in place for another zone. I still need to go in and add a lot more detail and purpose to different areas.
This is just part of making your own game. Things never are as simple or smooth as you want them to be. This was at the very least another attempt to try something new and see how it went. I’m uncertain if I want to attempt trying this method again. Perhaps I just need to invest more time in understanding and researching before giving it another go.
Other Content
Information
Screenshots were taken and content was originally posted by our main developer on his blog found [here]. Screenshots are from Unreal Engine 4.
Leave a comment
Log in with itch.io to leave a comment.