The Making Of The Passage Map
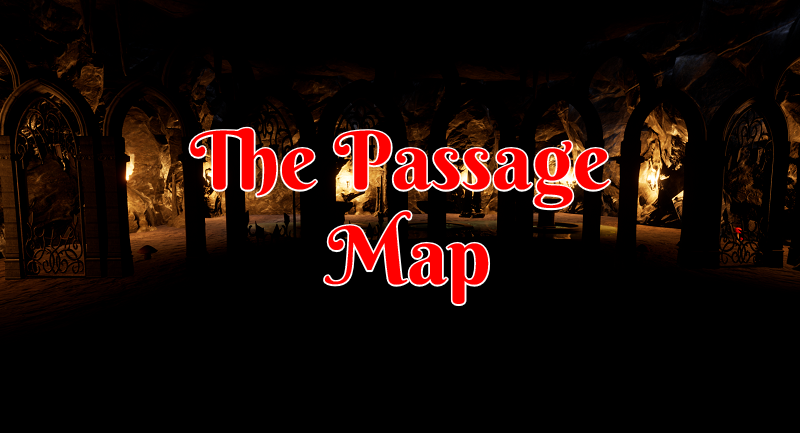
This map is between two larger areas and just serves as a passage between the two. It’s a rather basic map with the goals I had behind creating it. As always I try and think of a purpose that drives the reason for having a map in my game. Along with it creating design restrictions and other facets that go behind creating it.
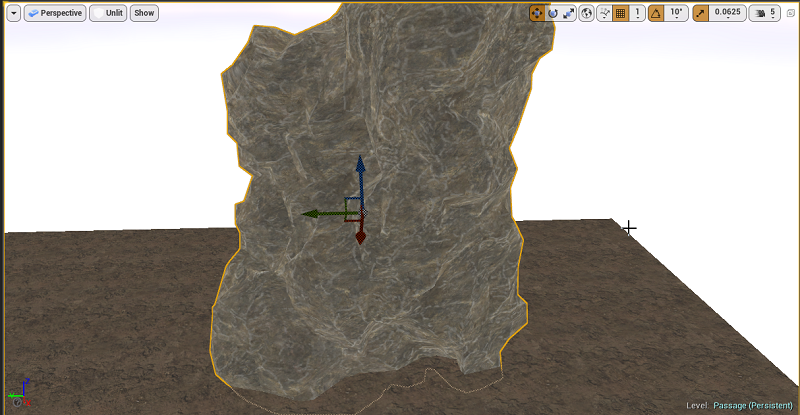
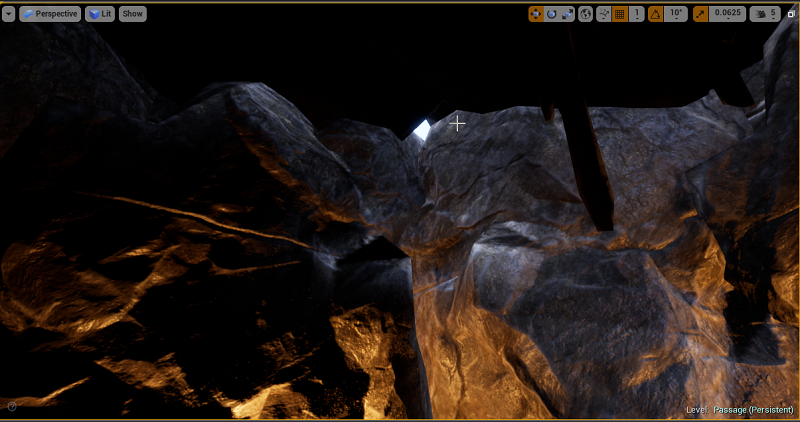
This is another map made from using large rock meshes. I am quite comfortable and even becoming quicker at creating a map from using them as the main building block.
They are also quite large and I don’t worry about lining things up perfectly. I even used a little light bleed from some gaps to further add to the overall maps of softer light feel. This was not going to be one of those very dark and hard to move around from sight. I’ve had a number of those and I wanted a bit of a lighter feel.
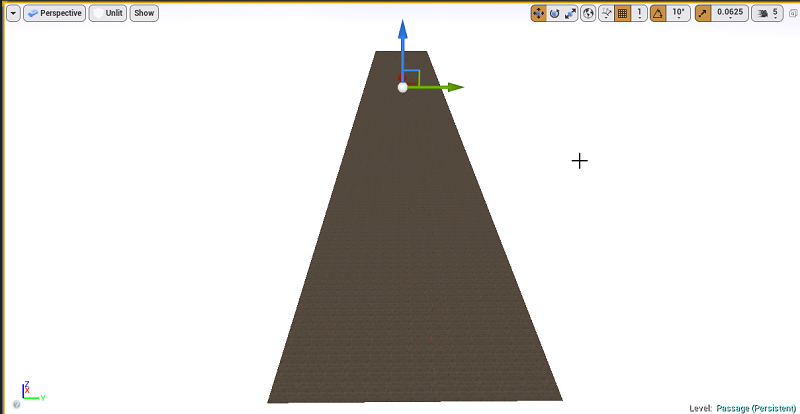
With this being a long but not very wide map. I set up my landscape layer to play the very constraint in how big the overall map was going to be. I ran around a little bit on a character to get a feeling for scale and felt the landmass was adequate for the overall goal of this map.
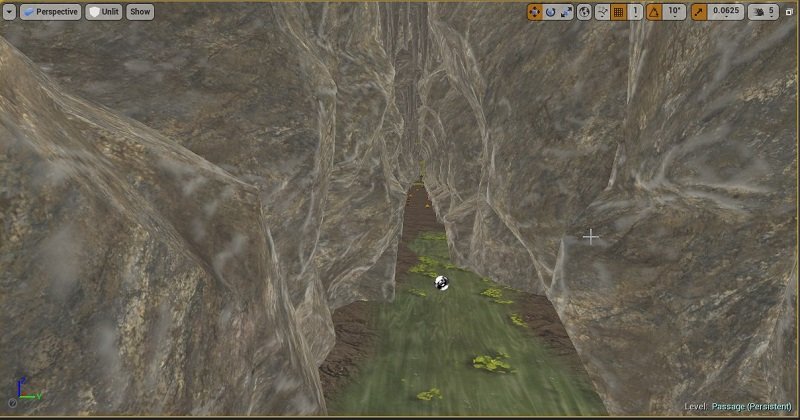
With this being a passage map I wanted some of the walkways for the player to travel down to be extremely small. This both helps with the lighting since a single torch can give lite up a pathway. While also giving that restrictive feeling of the physical space I wanted to create. The ceiling is also quite tall for those who might have some issues with tight spaces not sure how much that help I just liked the look of it.
There are several side areas and even little rooms. These rooms were not as big as they have been in some of my other maps. I wanted, for the most part, to keep things small, compact, but interesting at times.
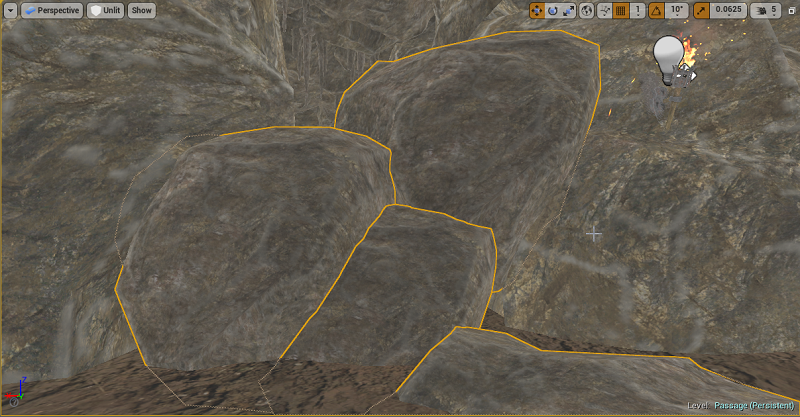
I also introduce something the player has not encountered up till now in my game. While having an area that appears to be blocked off is not something new. This side little room is made for the player to jump up on the rocks with some added rocks to the other side for them to get back to the main path.
With this being the 12th map there is a good chance many will just skip right over this. In other maps, if you tried to jump onto rocks to get into blocked off areas you could not. Even if a player found a way to “glitch” past them you would just hit an actual wall in most cases or fall off the map to certain death.
This time around I might at a later point in time come in and add something special or different to the little room behind these rocks. I won’t spoil anything further than that. I personally really love hidden walls, rooms, and areas.
While many areas like this one have not been completed yet since they require some scripting for interacting with objects in most cases. I’m usually rather careful to take screenshots before or take them in a way to exclude showing certain things. Only time will tell a later date if I’m able to pull off a lot of little things I have planned when I go back around to my other maps. A couple of things I’ll share the rest will be up to the player to discover if there is anything else to be found.
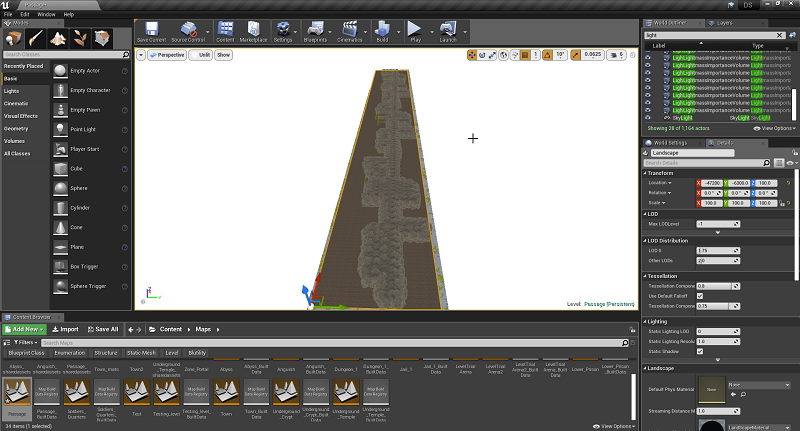
After some time and I forgot to take screenshots as I was making progress I had the general outline of the map done. To save some time I did take a couple of areas and I copy and pasted the meshes. I then went in and made some changes. With this being a rather strait forward path to travel there was no need to keep doing the same thing over and over again manually.
Adding In Layers Of Detail In Passes
You run through your map so many times testing it. Taking a look at things, moving stuff, and trying out this or that to see how it fits. Since I know I was going be doing a lot of that anyways I simply build it into my workflow. This includes a very key thing of not always running though in the same direction. It’s funny the things you miss if you never run the other way or take a 360-degree look around. Some games come to mind where you could tell those who created them did not view things from all sides but I shall not name any—for now.
A lot of the things you do to create a map in a game become quite reparative after a while. I have placed who knows how many thousands of individual torches at this point as the main sources of lighting. This map itself was no expectation with 202 of them placed.
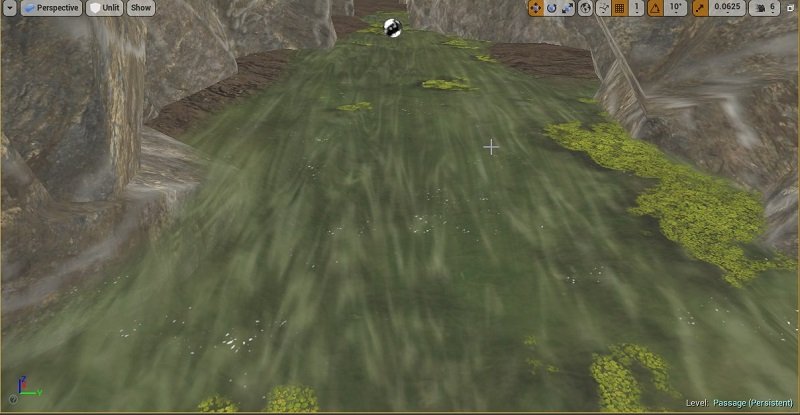
Every time I see this dirty pond of water it just disgusts me so I love using it. One of the first things I do, after I have a map layout, is randomly changing the elevation by adding slight dips and increase if there is a landscape layer. This allows me to use dirt or whatever the base material is to block off areas if I like. Along with giving places for the water layer to show up if I want some of that.
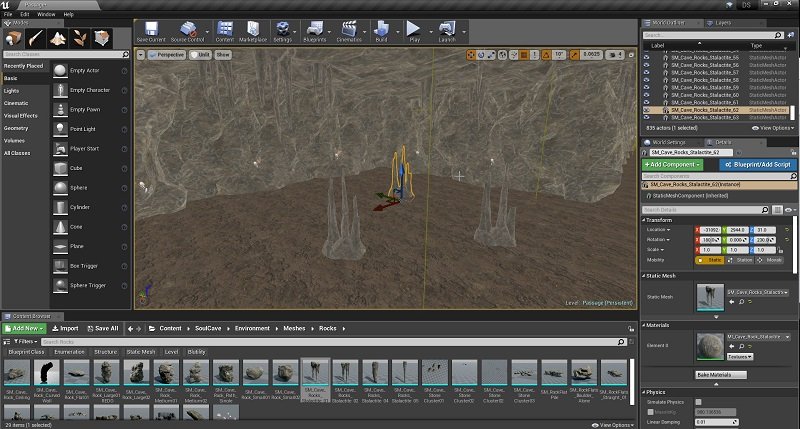
One pass through I added in stalactites and stalagmites. While I have attempted in the past to add them to the foliage tool so I could just run around and quickly place down what would have been over 300 in this map. I was never a fan of how it attached to the ceiling rocks I use. While I could select them all and slide them down the ceiling is quite uneven and I’d be manually adjusting quite a few of them anyways.
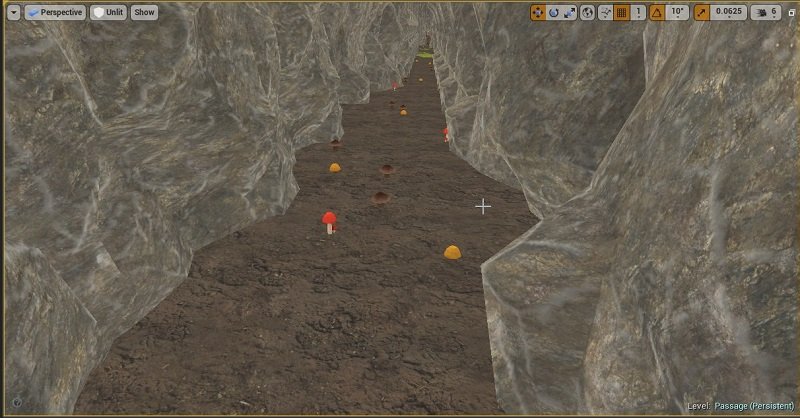
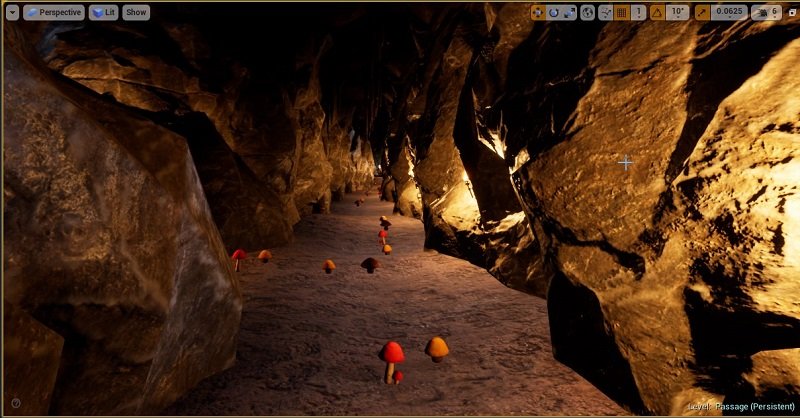
Another run I filled out my foliage tool with a couple of different kinds of mushrooms. I turned off cast shadow to reduce the impact they have. Along with adding large culling range so they are not always loaded in if the player is far enough way. While adding in culling causing that annoying popping in and out of assets in games the player will never notice it since that will be going on in rooms they are not in.
I also messed around with density numbers of the mushrooms spawning in. I did not want too many of these things scattered all over in places I selected. Thankfully things like these don’t require too much manual placement so I could just wave the foliage brush in areas I want them and boom 567 mushrooms added to the map. They cause very little perforce drops and help fill out the map not looking to void.
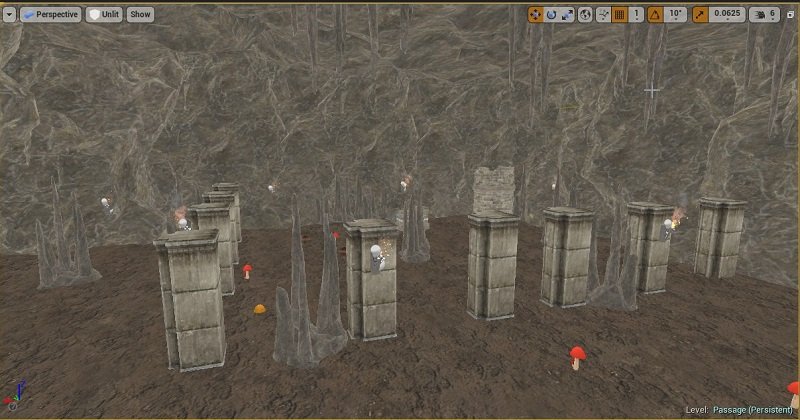
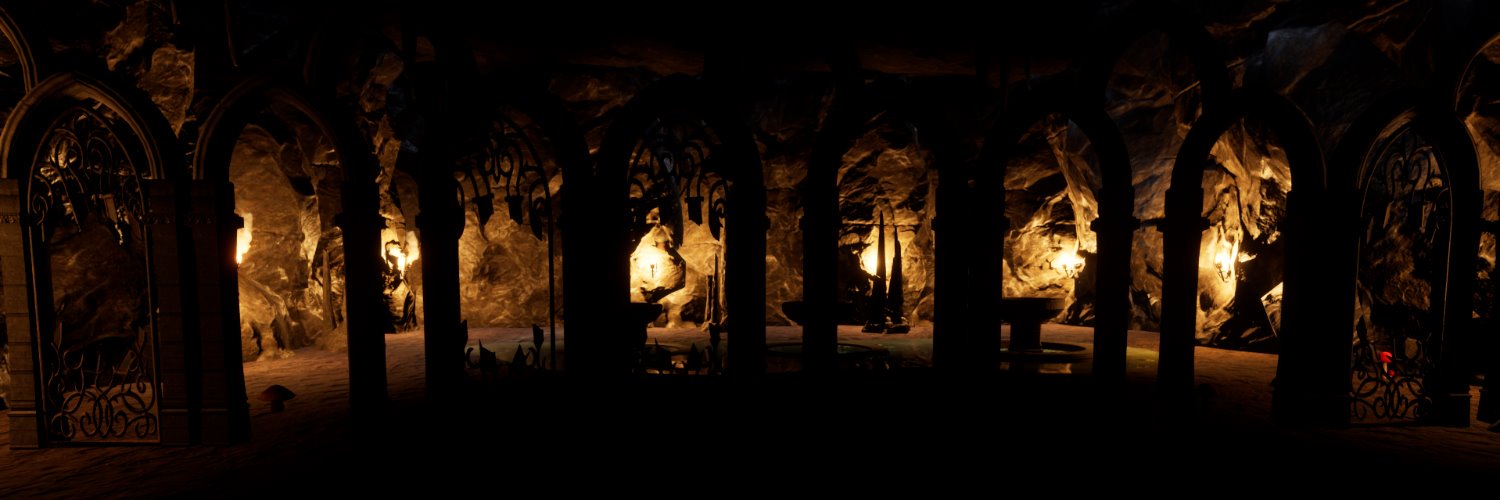
After filling out quite a lot of basic details and creating some layers of objects. It was time to go into some of the larger areas of the map and add in several objects. I’ll admit most times it’s just whatever random thought that popped into my mind when looking at a room is what I place in it. This one, in particular, I was expecting to have some lighting issues with it being too dark so those pillars placed were perfect for adding torches. Who is to say it’s an unfinished gravesite or a fence of some kind? I’m not going spoil that.
Lighting
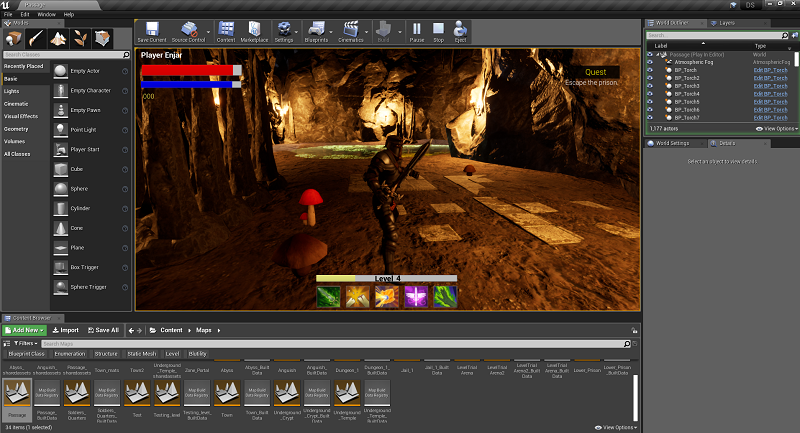
After putting in so much effort into a single map I have found it to be rather enjoyable once you get to see everything with lighting. A lot of times you end up needing to make further adjustments. Lighting itself can also be a slow process of waiting around. Then you have it done!
This time around I did not use any Exponential Height Fog. This was due in part that I had a lot of narrow areas that were easy to light. I also did not delete the maps sky sphere or skylight. So any lighting that can get through the meshes from light bleed just lightens up the areas. That does mean I’d have to put more effort into a spot if I wanted it dark to combat that.
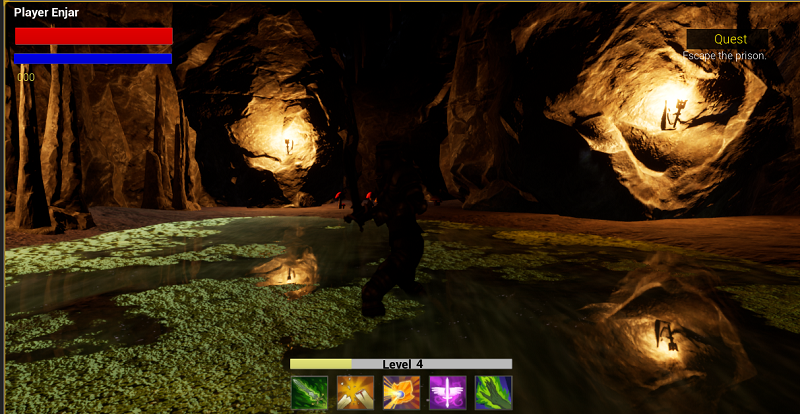
I added in reflection points only around areas that had water. This included small puddles to larger areas. While I could have tried to give other places that wet reflective rock look. I felt I had enough areas for the eye to draw to reflections that I wanted it to be more focused.
Sometimes I just love going through an area and taking a look at it from being unlit, lit as a developer, and finally how the player will see it. You see quite a dramatic change.
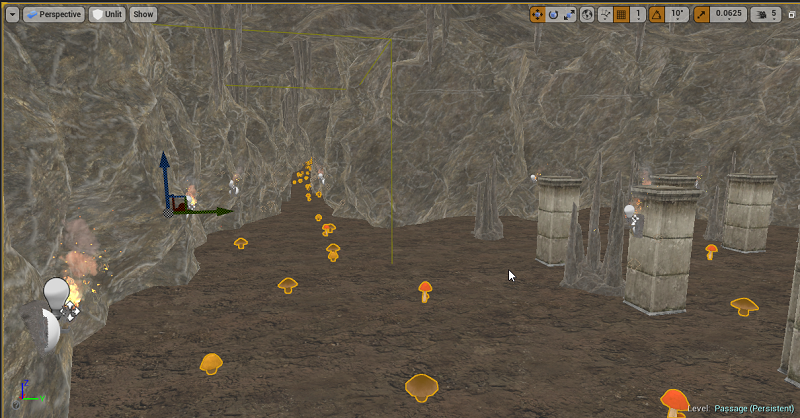
Unlit in developer viewport.
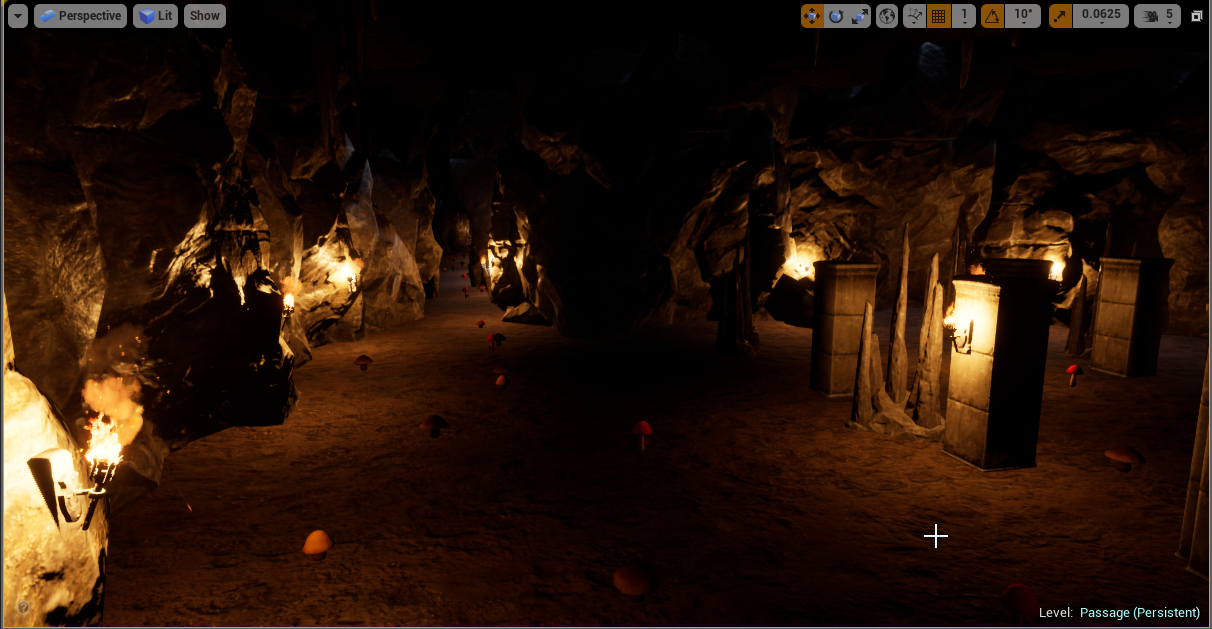
With lighting turned on in the developer viewport.
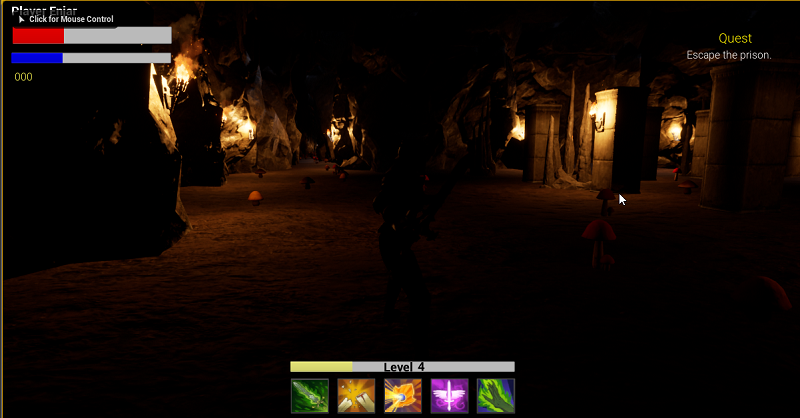
Outside of some height difference being spawned in as a character that will cause some is shifting in light. I also have some menu options built out for different settings in the game. Quite a lot of stuff I still need to read up on the documentation for and create a much better menu UI for it before implementing. As a result, there is a bit of a difference between being the character and just having the lighting option to view the game.
Final Thoughts
While it feels like I have so many more maps to make since I have plans on doing 25 of them to start with. I have a couple more left until I start working on some other things for a while. I don’t want to burn out to much on focusing on just one element. I also want to start adding in loot tables, items, and creatures to fight. I’ll be working on after I have the first 15 maps completed up to the point a certain point like The Passage is.
Other Posts:
Information
Screenshot(s) were taken and content was written by Enjar of EnjarGames. Screenshot(s) are from Nightly Dungeon and Unreal Engine 4.
Originally posted on our main developers blog.
Game roadmap.
Nightly Dungeon on Twitter
Nightly Dungeon on Itch Nightly
Dungeon on Hive
Get Nightly Dungeon
Nightly Dungeon
A dungeon awaits. A RPG dungeon-crawler.
| Status | In development |
| Author | enjargames |
| Genre | Role Playing |
| Tags | Dungeon Crawler |
| Languages | English |
More posts
- The Making Of The Fallen MapJan 21, 2022
- The Making Of Insanity Realm MapJan 10, 2022
- The Making Of Underground Ruins MapNov 23, 2021
- Nightly Dungeon | NPC Combat And Loot DemoOct 02, 2021
- The Making Of The Underground Temple MapSep 20, 2021
- The Making Of The Abyss ZoneSep 12, 2021
- The Making Of the Anguish DungeonSep 06, 2021
- The Making Of The Lower Prison ZoneJul 25, 2021
- Underground CryptJul 18, 2021
Leave a comment
Log in with itch.io to leave a comment.