The Making Of The Underground Temple Map
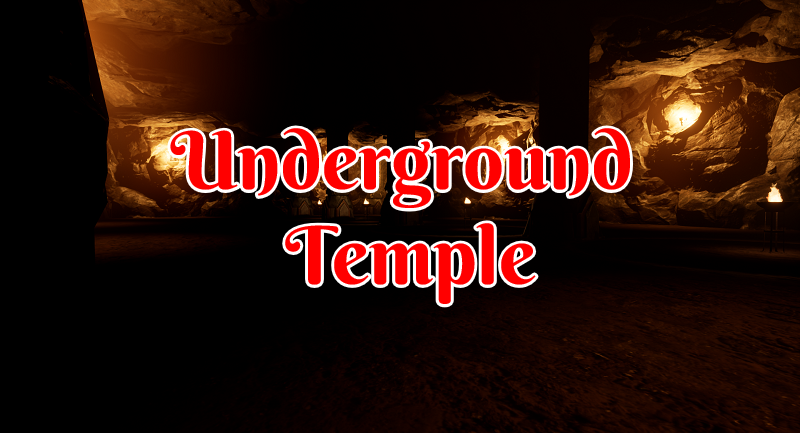
This map took me a couple of attempts for me to find a feel that I enjoyed it. The name will more than likely be changed at some point. It’s just not one of those I could make feel how I envisioned it in my mind. Once everything started to get all laid out it became something else.
It is interesting that up until now most of the names of the maps that I created in only a couple of minutes for 15 of them ending playing such a major role in how I went about creating them. I was expecting something to come by sooner or later where it just did not feel like it.
As far as a new name I’m horrible at that sort of thing. Nothing comes to mind and so, for now, it will remain as Underground Temple.
The map itself starts the players off in a cave section. Then you run into a temple-like suture that branches off into two other very small cave systems and rooms. There are several other rooms to explore within the temple itself as well. Overall it’s about a 6-minute run to go through everything before any creatures are added. While not my longest map it also won’t be the shortest which is expected to be the next one.
One thing is this map is lacking is a defining feature. Not all of my maps are going have something massive like an actual abyss in the middle of them as my last one did. With the rate, I’m trying to create these things and plans to have 25 hands created ones in total. I do suspect a few of them will be a bit more on the generic side and won’t leave much of an impress after running through them.
Coming Up With A Floor Plan
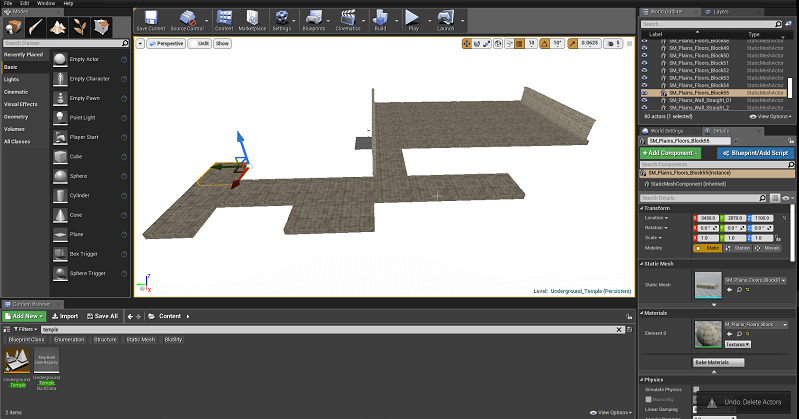
With it being a temple I ended up playing with some new materials in creating this map along with using some I was more familiar with. I was hoping it gives me that temple feeling and I’d be able to see beyond my foggy vision of it to create something that represented that.
The above screenshot ended up being my third iteration at creating a couple of sections in a floor plan before moving forward. It ended up feeling rather natural for what I was going for and I ended up going with it.
The first which I did not take any screenshots of. Was going be more focused around a centralized room. It was going to have five stairs leading off into different directions that led to a second story that the player would be able to look over this main area.
It ended up just looking bad with these materials. Almost bulky and uneven in away. I was just not pleased with it what so ever. So I needed up deleting that entire attempt.
The second attempt was going to be a massive lighting nightmare to be able to set up the scene in away. The first two rooms where perhaps triple the size of the biggest one in the screenshot above. I wanted this open with double-height ceilings with massive pillars.
Fleshing Out Rest Of The Map
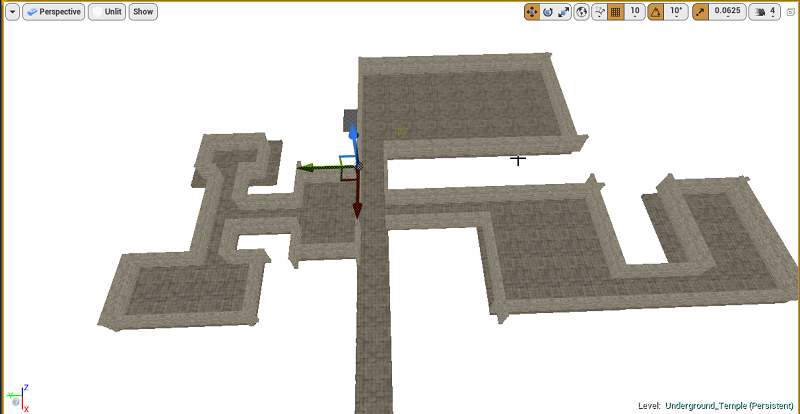
After getting the general feel I took this screenshot to just show some further progress being made. I added quite a few walls. I ran around as the player a couple of times checking for gaps in meshes. While I prefer to use a snapping point of 50 units for easy and not worrying about having small gaps between meshes.
These meshes had collision issues that required no overlapping as they caused some horrible graphics glitch and it spazzing out. While it was frustrating and more time consuming I ended up working within 10 units snapping points. This left a lot more small gaps between meshes and some rooms required large sections of it to be moved.
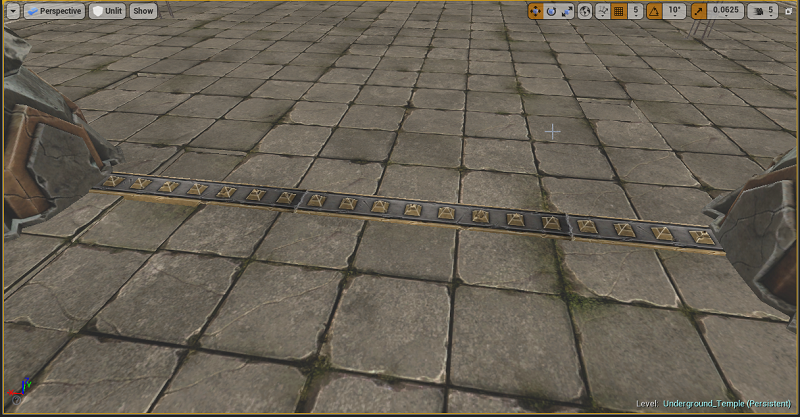
A dirty secret is sometimes hidden in a randomly placed object. While most of the time I was able to stretch out walls or flooring to cover any gaps so I did not have to select and move dozes of meshes and rearrange vast sections. There was one I could not fix. You could see right into the nothingness of space of the map.
Oddly enough they give going into this room an almost booby-trapped feeling. I wish those where ground spikes that came out of the floor and impaled the player’s character. Perhaps one day I’ll be able to make that a reality. Filling this place with traps would for sure give it a more temple feeling.
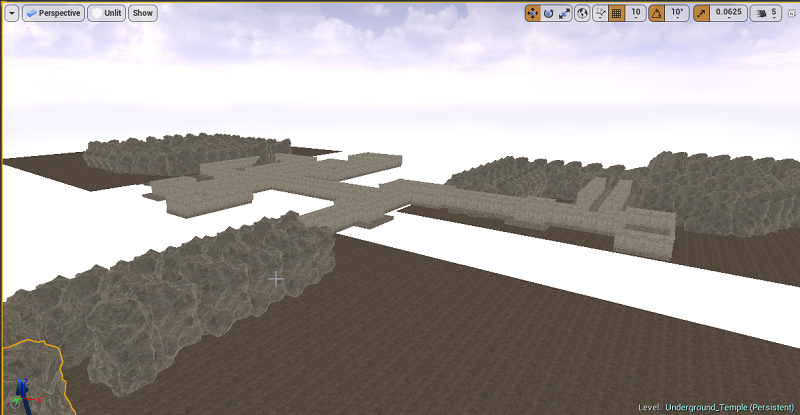
I took a bit of the first attempt with wanting some elevation changes and instead of it going up. I ended up creating three separate cave areas. While it would not be going up into a temple it would be going down into the caves.
Since the cave areas were expected to be at different depths I ended up creating three separate landscape layers. I did have some issues trying to edit them after the fact. I’m not sure if it’s because I had more than one.
I ended up going that route as I did not want to spend a lot of time just modifying one landscape layer. These were quite easy to just create and bring up the entire section to the right depth.
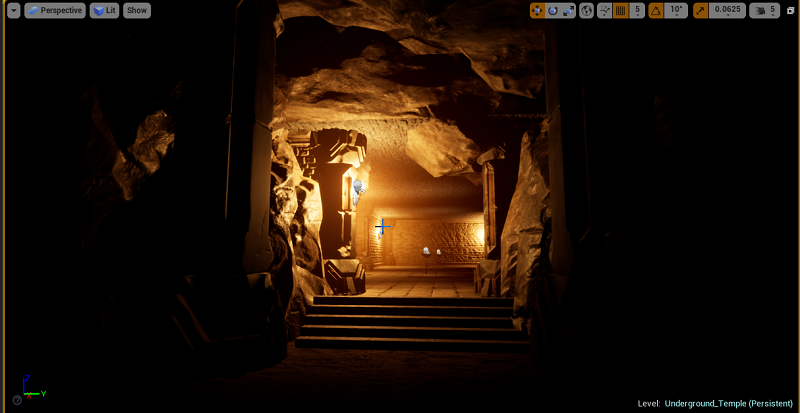
One interesting thing when you design a map is running into an issue that needs to be resolved. I had at first just the landscape layer edged up on the flooring that leads into the temple’s main room. That just did not give me an entryway I wanted. As a result, I ended up lowering the landscape layer enough to add in some stairs as a step up and an entryway into that room.
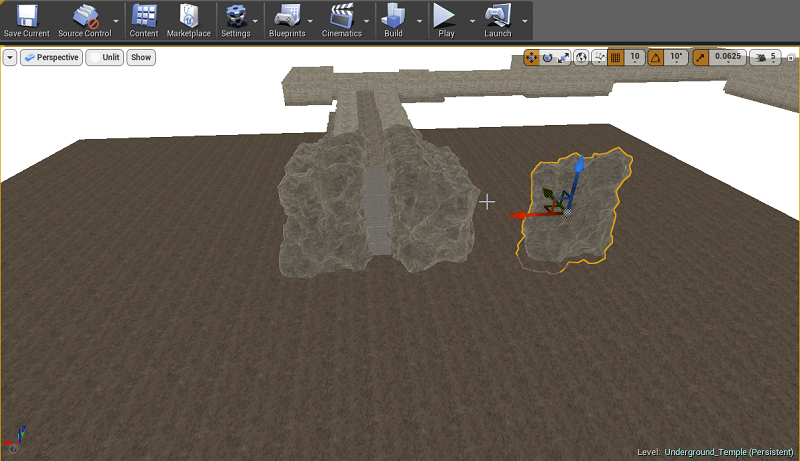
In the screenshot above I’m working out how the rocks are lined up along the stairs leading down into a cave short cave system I created. You don’t want to leave to much room on either side otherwise the player could fall off the stairs and become trapped. It also needs to be blocking them from being able to see the outside of the map as that would quite the third wall-breaking just to see the landscape layer end and there be nothing.
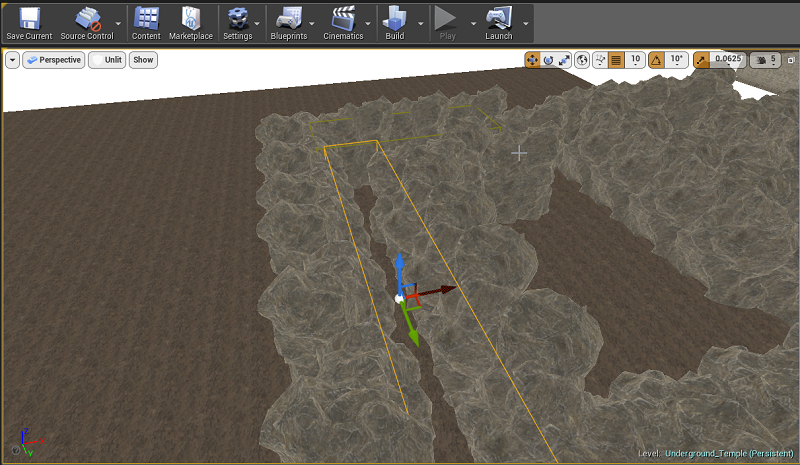
Since I’ve used rocks in the past to make cave systems I’m quite used to quarks and little things when dealing with them. One thing I’ve learned is that it’s hard to have a very tight Light Mass Importance Volume once you add a ceiling with how large the rocks are. Since going over rocks to see would add a fair amount of volume that did not need higher rendered light for it since the player would never see it.
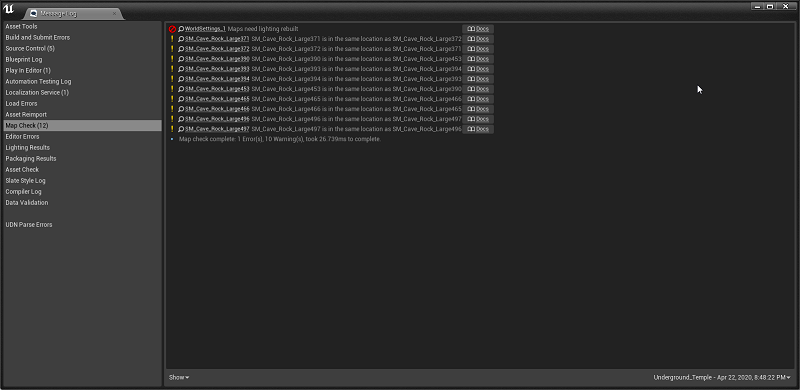
The great thing about creating good habits is I’ve been creating much cleaner maps that have a lot fewer issues I could have avoided all together from the start. I only had four or so objects that issued this time around. After they were dealing with it removed all other things since they were conflicting with each other.
With this being a smaller map lighting was much quicker to layout and even render. I ended up making 36 Light Mass Importance volumes throughout the map. There is also no reflection. I was rather thrilled it took only 15 mins for my computer to build out the lighting. It saved me a couple of hours when I tested out a few different things.
There is some slight volumetric fog from adding exponential height fog to the map. I could have had it become thicker when you dip down into the different cave areas. It just did not feel it creating the vibe I was looking for. So I ended up toning down a lot of the settings for it.
Final Thoughts
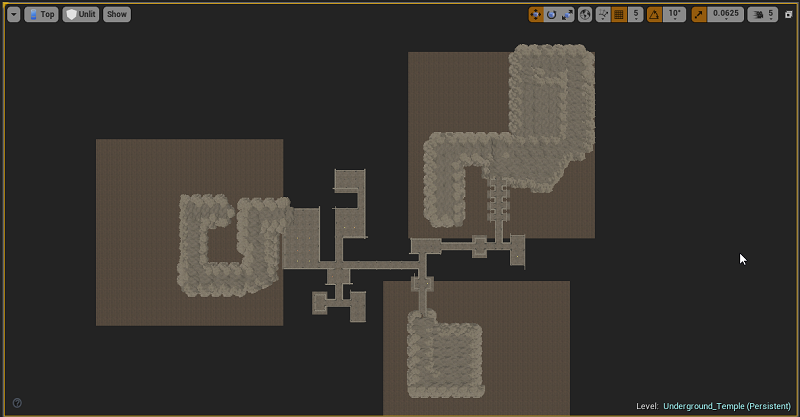
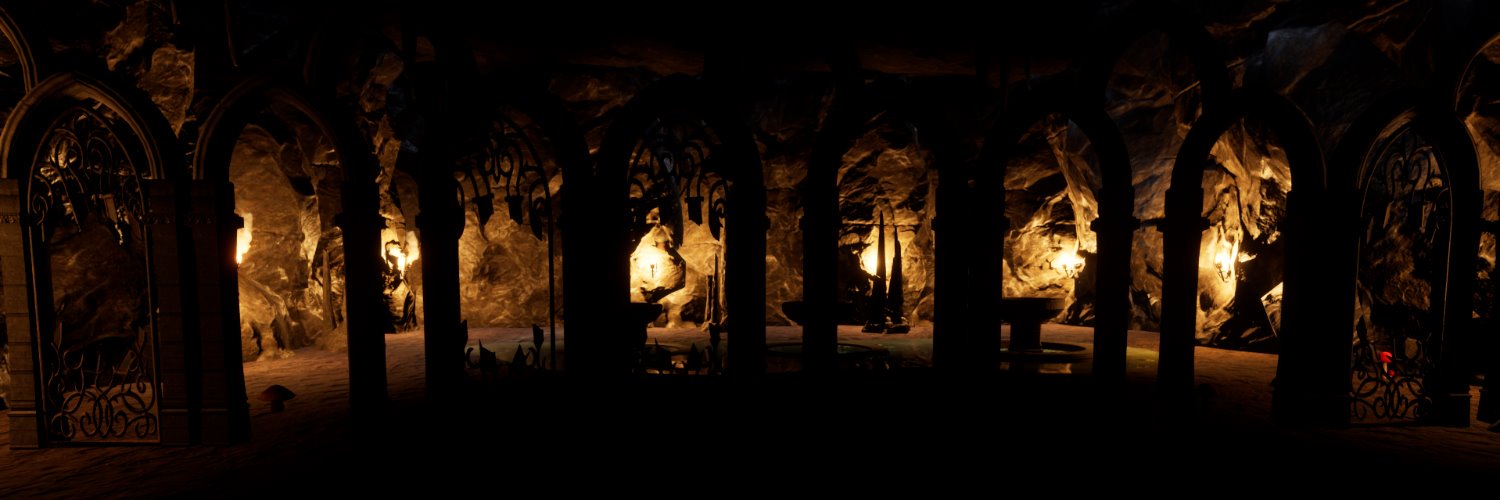
With this being my 11th map now created for my game I’m feeling rather good with how far long on the progress I’ve been making in these past few months. I have a couple more I’m going to create before I switch over to working on a bunch of other things to add to all these zones. Along with some other stuff I been wanting to invest some time into changing.
Other Posts:
Information
Screenshots were taken and content was originally posted by our main developer on his blog found [here]. Screenshots are from Unreal Engine 4.
Get Nightly Dungeon
Nightly Dungeon
A dungeon awaits. A RPG dungeon-crawler.
| Status | In development |
| Author | enjargames |
| Genre | Role Playing |
| Tags | Dungeon Crawler |
| Languages | English |
More posts
- The Making Of The Fallen MapJan 21, 2022
- The Making Of Insanity Realm MapJan 10, 2022
- The Making Of Underground Ruins MapNov 23, 2021
- The Making Of The Passage MapOct 31, 2021
- Nightly Dungeon | NPC Combat And Loot DemoOct 02, 2021
- The Making Of The Abyss ZoneSep 12, 2021
- The Making Of the Anguish DungeonSep 06, 2021
- The Making Of The Lower Prison ZoneJul 25, 2021
- Underground CryptJul 18, 2021
Leave a comment
Log in with itch.io to leave a comment.